Overview
Jupyter at OLCF
Jupyter is a powerful tool enabling reproducible research and teaching. Use it to create notebooks that contain both computer code and rich text elements (paragraphs, equations, figures, widgets, links). This allows you to create human-readable documents containing executable data analytics components, results, and descriptions.
JupyterLab
JupyterLab is a web-based interactive development environment for Jupyter. It provide a way to use notebooks, text editors, terminals, and custom components together. You can configure and arrange the user interface to support a wide range of workflows in data science, scientific computing, and machine learning.
The OLCF JupyterHub implementation will spawn you into a single-user JupyterLab environment.
Jupyter Hub
JupyterHub is the best way to serve Jupyter Labs for multiple users within a project. It is a multi-user Hub that spawns, manages, and proxies multiple selectable instances of the single-user JupyterLab server.
JupyterHub within OLCF works by first authenticating each user using NCCS LDAP authentication. The Hub will offer each user a selection of Lab images to launch, which will then be spun up automatically. Upon successfull authentication, your UID/GID/Groups are queried and built into the deployment of your personal JupyterLab. In addition, you will have access to your standard OLCF storage space(s) on NFS and Lustre.
Access
All members of currently enabled OLCF projects have access to the OLCF JupyterHub and JupyterLab.
OLCF Moderate JupyterHub (for Moderate Security Enclave projects): https://jupyter.olcf.ornl.gov/
OLCF Open JupyterHub (for Open Security Enclave projects): https://jupyter-open.olcf.ornl.gov/
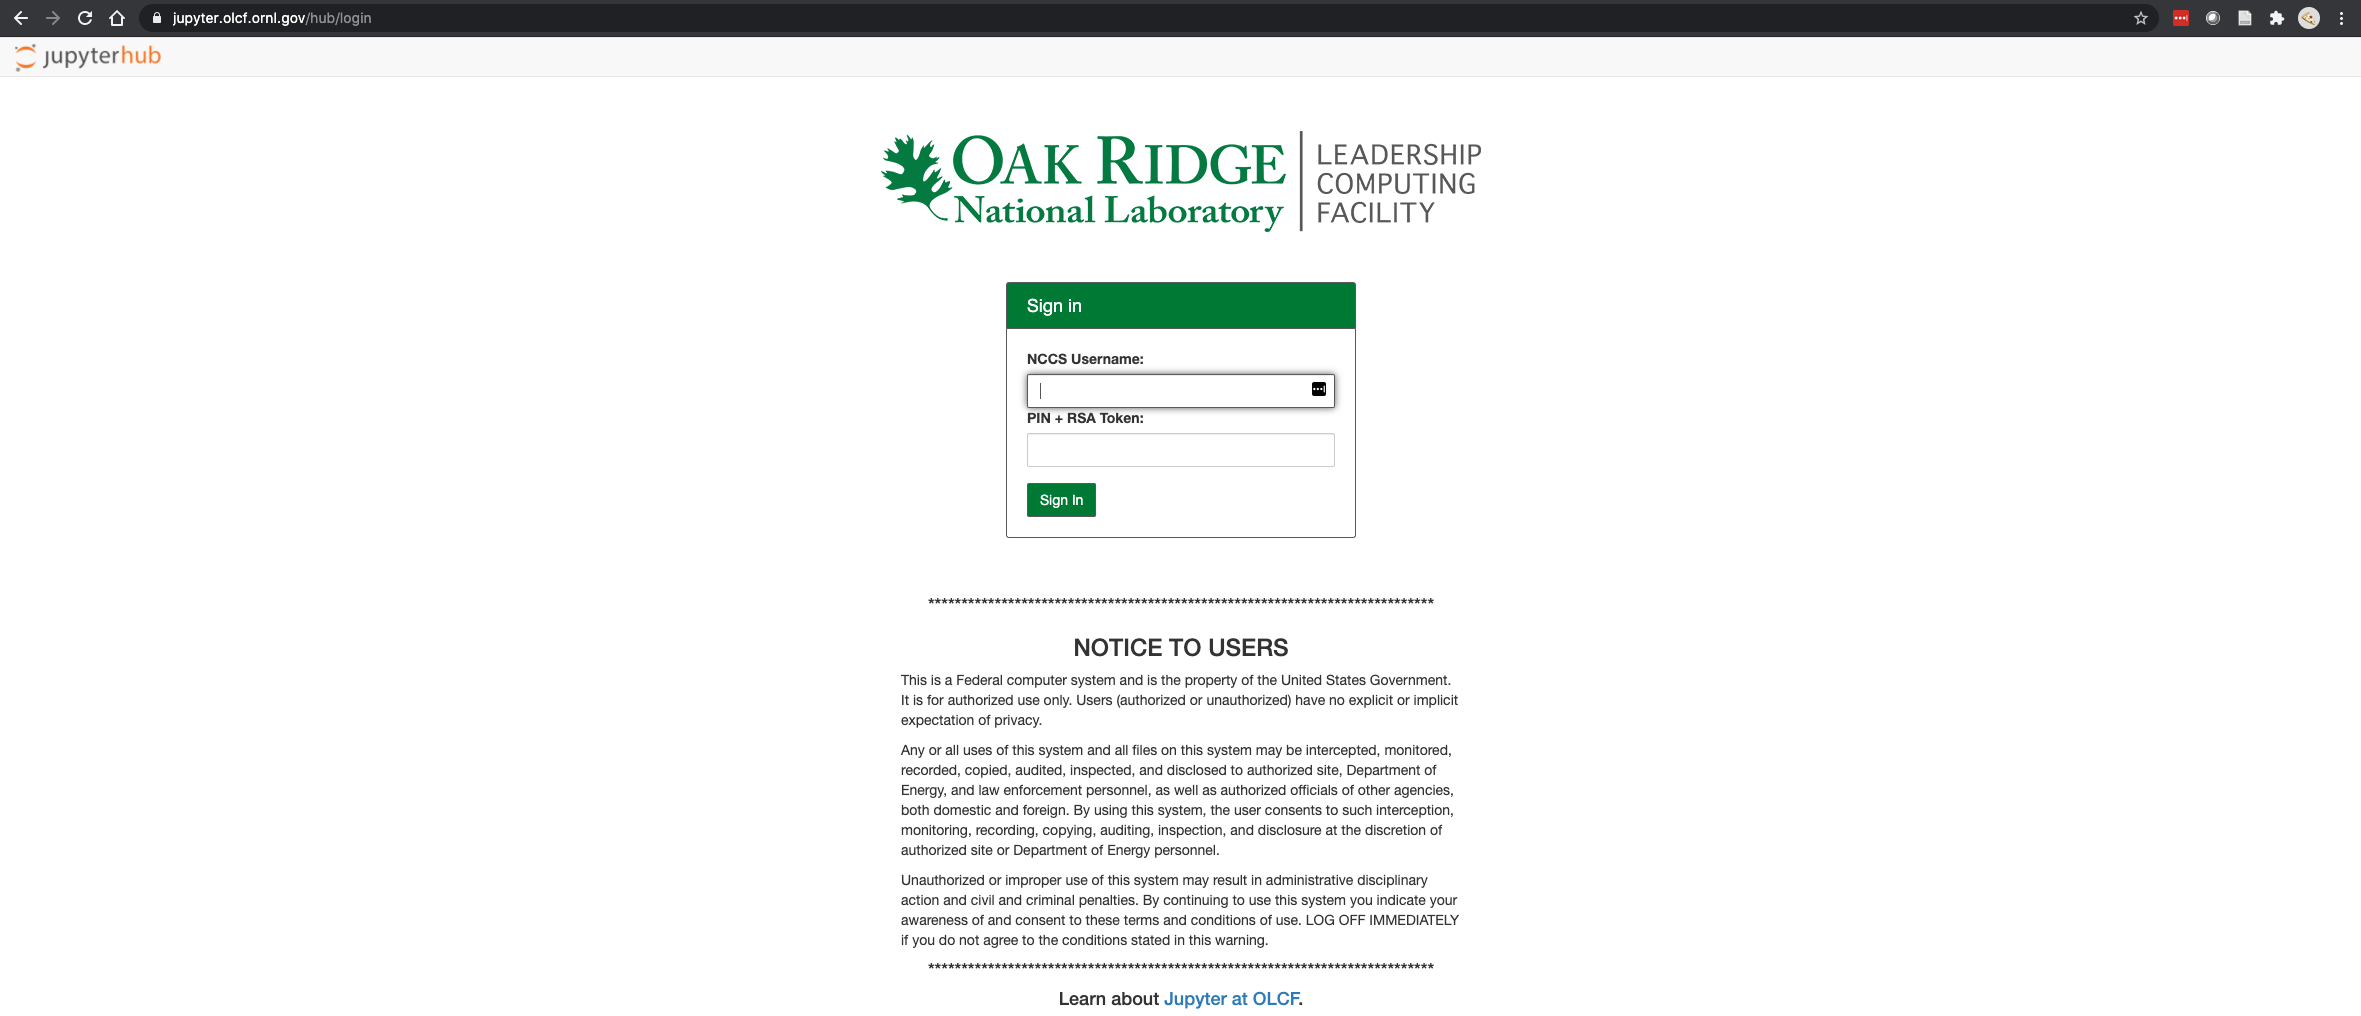
The above links will present you with a page similar to below.
When using the Moderate JupyterHub, please login with your OLCF Moderate account and PASSCODE.
When using the Open JupyterHub, please login with either your OLCF Open account credentials (accepts both UCAMS and XCAMS accounts).
After successful authentication you will be presented with a choice of JupyterLab images (similar to the image below if you are using the Moderate JupyterHub):
CPU-Only Orion/Filesystem Heavy Workload Lab
CPU-Only Compute Heavy Workload Lab
GPU-Lab (currently only available to Moderate Security Enclave projects)
Note
These GPU-enabled labs are limited. You may get get a message saying the resource is not schedulable, if all GPUs in the pool are occupied.
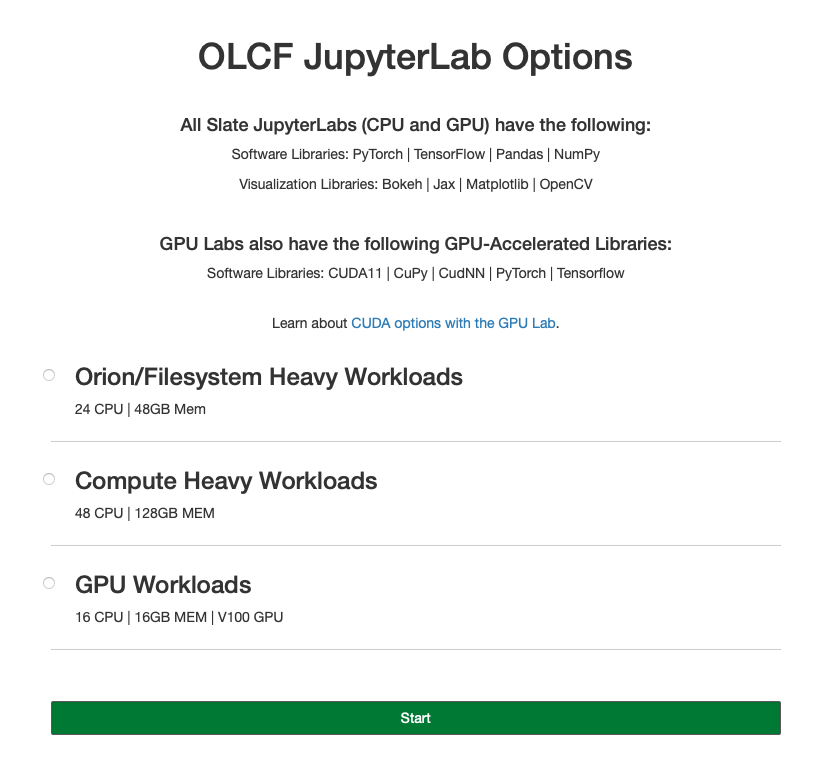
Select the lab you would like and click “Start”.
Tip
You may only have one JupyterLab session running at a time. If you would like to switch between CPU labs and/or the GPU lab, you will need to stop your current JupyterLab session first (e.g., File >> Hub Control Panel >> Stop My Server >> Start My Server).
The CPU Labs provide a single default notebook/environment in the “launcher” page of the JupyterLab interface, and the GPU Lab provides a default CUDA 12 environment.
You can read more about the environments, and how to create your own Conda environment, in the Conda Environments and Custom Notebooks section.
Once inside the JupyterLab, please take a moment to explore the interface.
To read more about the JupyterLab interface, in general, please check out this wonderful documentation: JupyterLab Docs
CPU vs. GPU JupyterLab (Available Resources)
Hardware Resources
The Orion/Filesystem CPU Lab spawned by OLCF’s Moderate JupyterHub gets these default resources:
24 CPUs
48GB Memory
NCCS filesystem access (Lustre and NFS)
The Compute Heavy CPU Lab spawned by OLCF’s Moderate JupyterHub gets these default resources:
48 CPUs
128GB Memory
NCCS filesystem access (Lustre and NFS)
Each GPU Lab gets the following resources:
16 CPUs
16GB Memory
Nvidia V100 GPU
NCCS filesystem access (Lustre and NFS)
Note
You have the same filesystem access as if you were on Frontier, to both NFS and Lustre, as you will be working under your standard OLCF UID.
Each CPU Lab spawned by OLCF’s Open JupyterHub gets these default resources:
8 CPUs
24GB Memory
NCCS Open filesystem access (GPFS and NFS)
Each GPU Lab gets the following resources:
Currently unavailable
Note
You have the same filesystem access as if you were on Ascent, to both NFS and GPFS.
Software and Libraries
Both CPU and GPU labs have the standard analysis and ML libraries: PyTorch, TensorFlow,
Pandas, NumPy; and visualization libraries: Bokeh, Jax, Matplotlib, OpenCV. To see the
full list of installed libraries, execute !conda list in a Jupyter cell, or
open a Console from the Launcher page and type in conda list.
These libraries should cover most use cases. You can also find
instructions for setting up a custom Conda environment for use with JupyterLab here.
The GPU lab provides a single CUDA 12 environment which provides GPU support for PyTorch, TensorFlow, CuPy, and CudNN.
Working within Lustre and NFS (Launching a Notebook)
To see the root of your filesystem access, within your JupyterLab interface, click this circled folder (you can traverse to your user’s spaces from there):
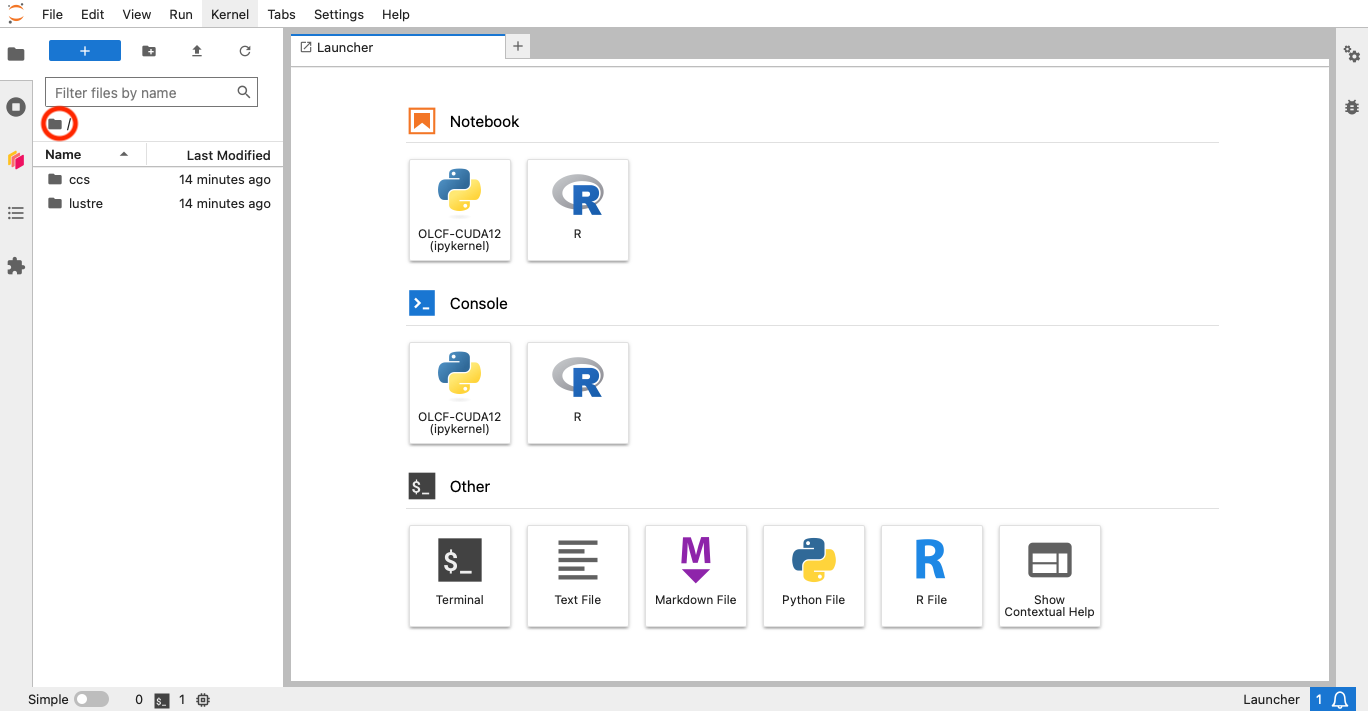
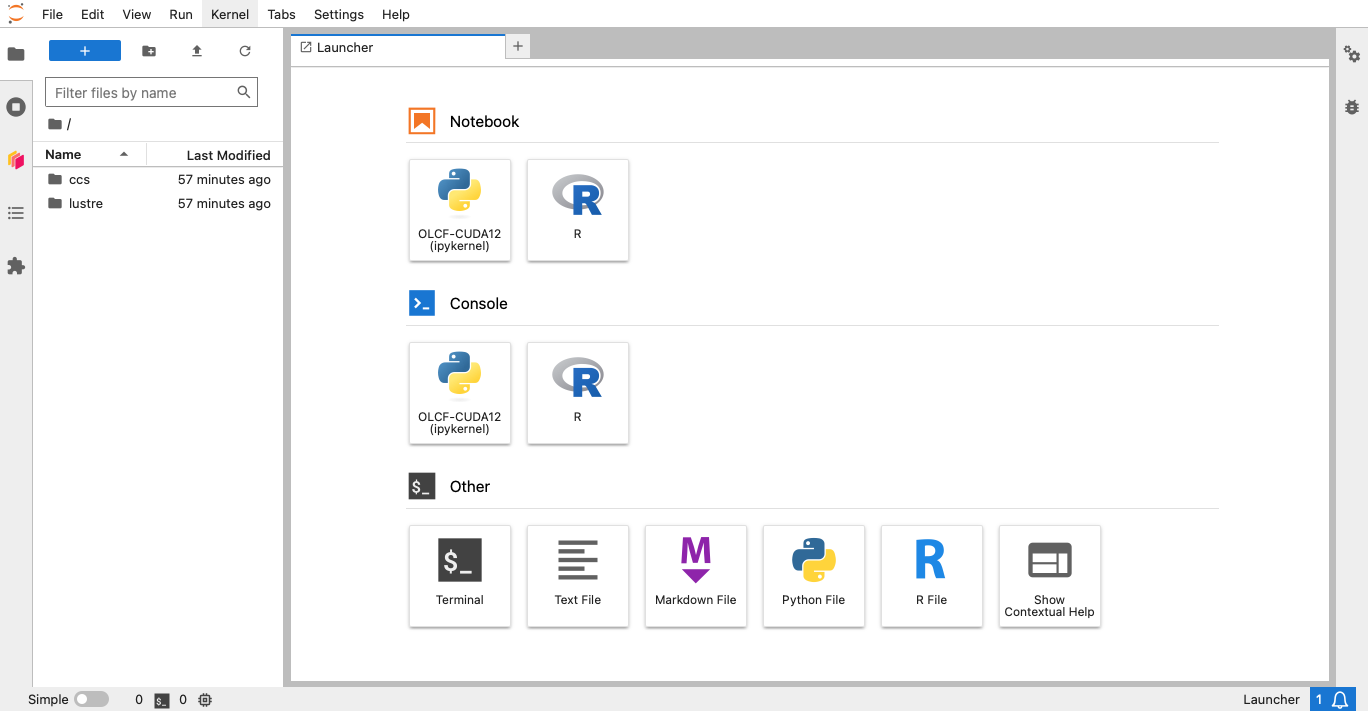
You should see lustre and ccs - the “top” of Lustre and NFS, respectively.
Then, you can start a notebook in the directory of your choosing (relative to your user access).
To do so, traverse the filesystem to your desired path and then click the “Python 3” notebook in the launcher page. This will launch the default notebook environment and store the notebook in your current path.
Note
Any notebooks saved in the root location won’t be persisted across sessions. Make sure you are saving your work in a location in /ccs or /lustre where you have write access.
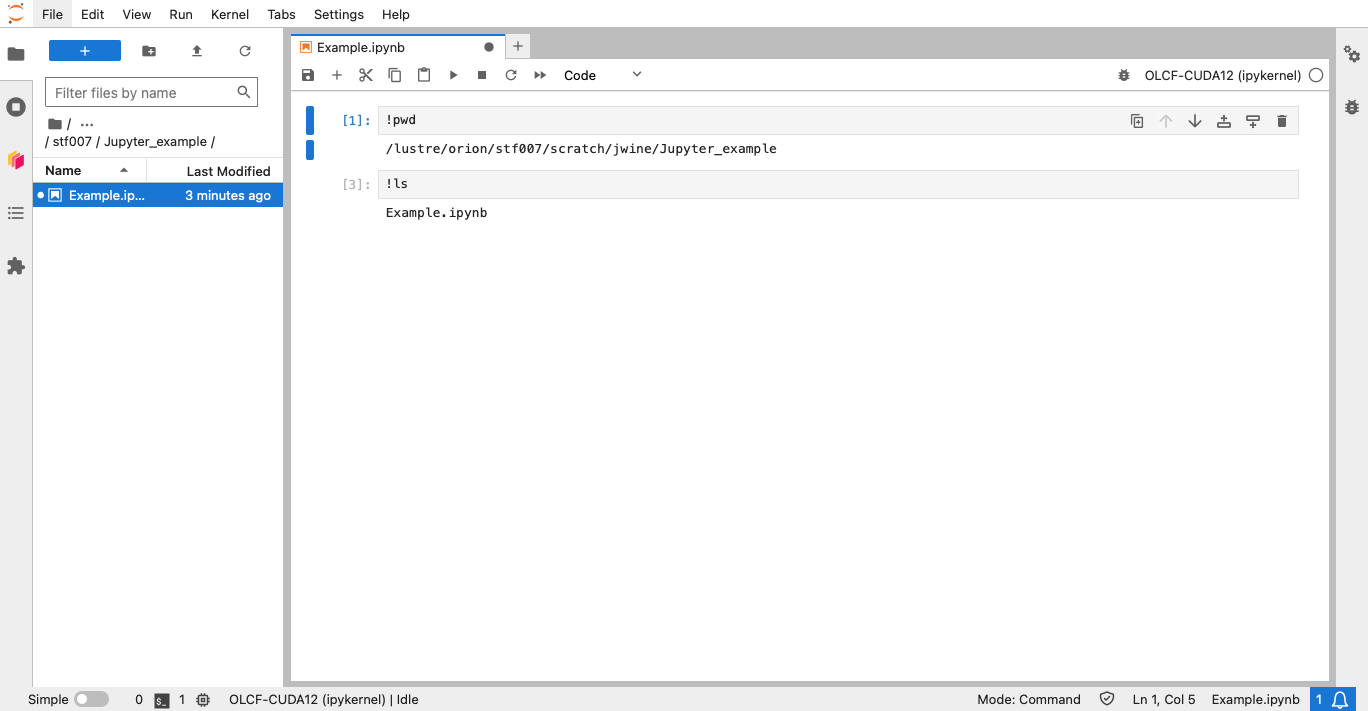
In the example image below, I have launched a notebook in my /lustre/orion/<proj>/scratch/<uid>/Jupyter_example directory (the notebook filename is “Example.ipynb” - you can rename yours):
Another method of getting to the filesystem path of your choosing is selecting File->”Open from Path” and typing the desired path in the text box:

Conda Environments and Custom Notebooks
From the Console of a particular environment, you can install additional libraries with a simple conda install to
use in that particular environment in the current session. But these installed libraries won’t persist across sessions
if your server is restarted.
Setting up your own custom Conda environment is useful when the base environment doesn’t provide what
you need and you want your installed libraries to persist across sessions. These custom
Conda environments need to be saved in a /ccs or /lustre/orion directory.
Warning
Please note that GPFS and Lustre are purged. If you would like to request a purge exception, please contact our helpdesk at help@olcf.ornl.gov or submit a ticket through the myOLCF “Ticket” portal.
Example: Creating a Conda Environment on Jupyter
Note
Conda environments created using the below method are only usable in JupyterLab. You can’t create an environment within JupyterLab and use these environments on other machines like Frontier or Andes to run jobs. You will need to recreate the environment separately on those machines. Alternatively, See our Jupyter Visibility Guide for details on how to make your Frontier/Andes environments visible to Jupyter – which we highly recommend doing instead.
In this example, we will create a simple environment that installs NumPy. Although this example installs NumPy, the instructions below can still be followed to create a desired environment on Jupyter:
Launch a Jupyter Lab from https://jupyter.olcf.ornl.gov
From the JupyterLab Launcher page, click on the Terminal option.
Next, create your Conda environment:
conda create -p /path/to/your/test_env python=3.10 numpy
Activate your new environment:
source activate /path/to/your/test_env
Install
ipykernel(will let Jupyter “see” your environment):conda install ipykernel
Use
ipykernelto expose your new environment to Jupyter:python -m ipykernel install --user --name test_env --display-name test_env
If successful, you should see something like
Installed kernelspec test_env in ~/.local/share/jupyter/kernels/test_env
After following the above steps, you should now be able to use your environment “kernel” in a Jupyter Notebook.
When you refresh the page (or open a new Jupyter Launcher tab), you will see new options labeled as your Conda environment name you passed to ipykernel.
To use your custom environment in a Notebook, you can either click on the new options to launch a new Jupyter Notebook with that custom kernel, or you can switch kernels in existing Notebooks by clicking on the “Kernel” menu option and then select “Change Kernel” while in an existing Notebook.
Note
Note that you can always install more libraries into your Conda environment as needed by opening the Terminal in JupyterLab again, activating your environment with source activate and doing conda install or pip install.
To delete your environment, you will need to delete it from the path where the environment
was created, as well as delete the corresponding directory from ~/.local/share/jupyter/kernels.
Manually Stopping Your JupyterLab Session
All JupyterLab sessions expire and termninate if they are left idle for 1-hour.
If you would like to terminate your session manually (e.g., so that you can switch between the CPU to GPU-enabled JupyterLab images, or vice versa), you can do so by going to File -> Hub Control Panel -> Stop My Server.
This will take a few seconds to shutdown, then you can restart and reselect a provided JupyterLab image from the menu.
Things to Be Aware Of
All notebooks have an idle time limit of 1-hour. After 1-hour of idle time, your JupyterLab session will terminate. You may restart your session though.
To persist a notebook and Conda environment, it is highly recommended to use your NFS project space (/ccs/proj/<project-id>/<uid>/).
The GPU-labs are limited resources. There is no guarantee of a GPU being readily available for JupyterLab. Please use the more readily accessible CPU-Labs, unless you absolutely need a GPU.
Example Jupyter Notebooks
Please check out our OLCF Jupyter-Examples repository on GitHub.