Pods
A pod is the smallest deployable unit in Kubernetes. A pod is a group of one or more containers that will be scheduled together onto a node in the cluster. Usually, a pod will just be one container, but it could be a group of processes that make up an application.
Pods have a lifecycle: they are defined, scheduled onto a node, and then they run until their containers exit or the pod is removed from the node. Pods are immutable and changes to a pod are not persisted between restarts.
Caution
A pod does not:
have state (data should be stored in persistent volumes)
move nodes once scheduled onto a node
reschedule itself (we will use higher level controllers to manage pods)
Running a Container in a Pod with the CLI
Let’s get started:
oc run --restart=Never hello-world-pod --image openshift/hello-openshift:latest
The oc run command takes options and creates a specification
that it is then passed to Kubernetes to run. To see the spec it is creating append
-o yaml to the oc run command and you will get an output of what it is sending
to Kubernetes.
The --restart=Never tells oc run to generate only a Pod spec. By default it would
generate something more advanced we will talk about later.
The openshift/hello-openshift is just a simple
Docker image
List current running pods:
oc get pods
Get more information on our pod:
oc describe pod hello-world-pod
Once we see Status: Running (near the top of the output, not the bottom) we can interact with the container by first setting up port forwarding:
oc port-forward hello-world-pod 8080:8080
Then, since oc port-forward stays in the foreground, we run curl http://localhost:8080 in a second terminal.
The initial port in the port pair references a non-allocated port on our local system similar to how SSH port forwarding works.
Pods also have logs. We can see the logs for the pod: (whatever was printed to stdout from within the container, not kubernetes).
oc logs hello-world-pod
Now let’s delete our pod:
oc delete pod hello-world-pod
Deleting the pod will remove our ability to inspect the log output from oc logs, so if you are debugging an issue
you will want to keep the pod until the issue is resolved.
Running a Container in a Pod with the Web Console
To create a single pod using the web console, we will create from YAML.
First, in the upper right-hand corner, click the + symbol. This can be used to add any YAML object from the web UI.

Make sure the project in the upper left-hand dropdown is set to the project in which you wish to deploy. Then paste this YAML into the box.
apiVersion: v1
kind: Pod
metadata:
  creationTimestamp: null
  labels:
    run: hello-world-pod
  name: hello-world-pod
spec:
  containers:
  - image: openshift/hello-openshift:latest
    imagePullPolicy: IfNotPresent
    name: hello-world-pod
    resources: {}
  dnsPolicy: ClusterFirst
  restartPolicy: Never
status: {}
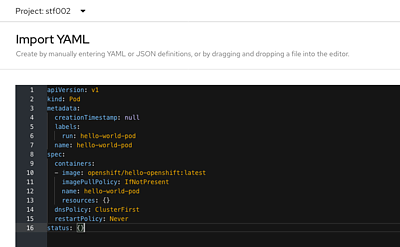
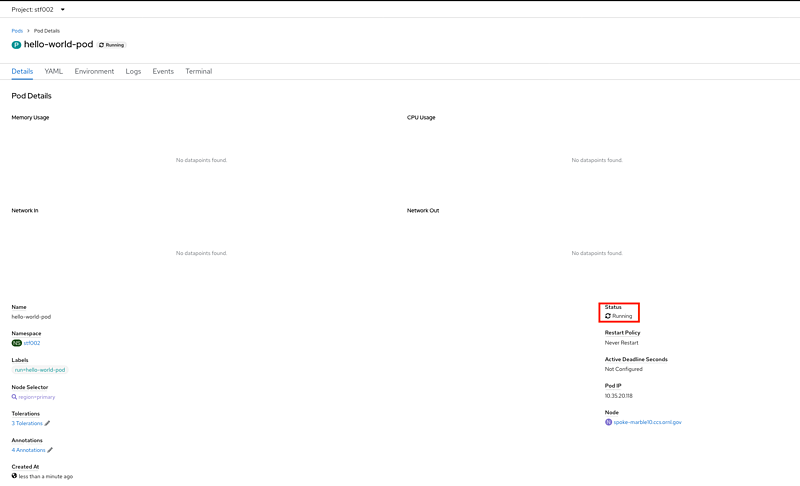
Click “Create” at the bottom of the screen, and you will be redirected to the pod object page.
Wait for this to say “Running” on the right side of the screen in the Status field.
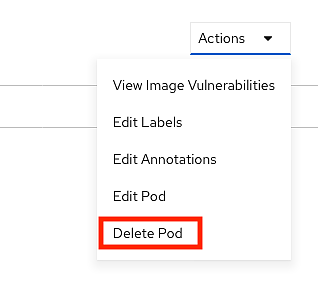
Finally, we can delete the pod by clicking “Actions” -> “Delete Pod”.